Media Basics:
Adding images and other engaging multimedia content to your site can offer many benefits to your business.
- Multimedia can provide engaging and informative elements that lead to more shares and enjoyment, and greatly enhance the user’s experience.
- Multimedia increases interest in your site, and the additional time spent improves your search engine results (SEO).
- People like visuals. Multimedia helps build your brand by generating more thorough awareness of your specialties.

1. Log in to your dashboard using the Log in link at the bottom your website.
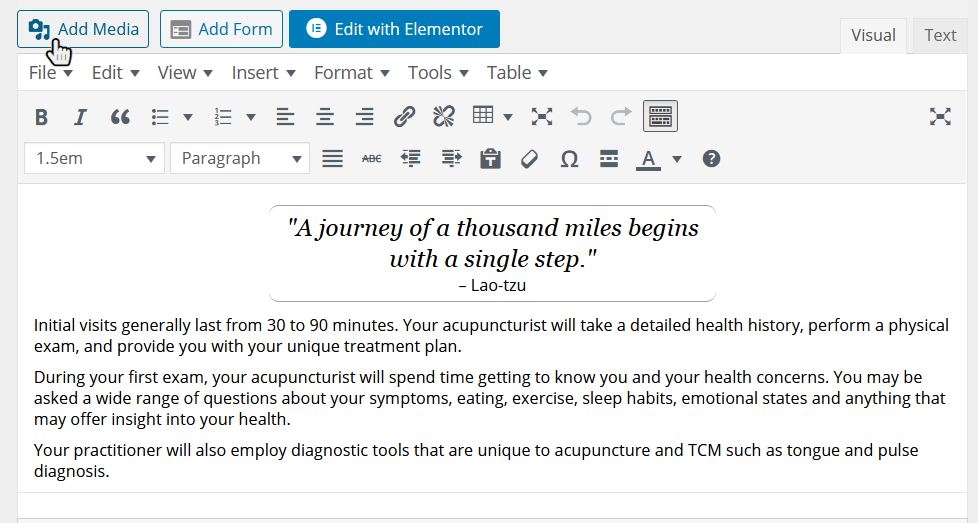
2. First, navigate to the editor of the page or blog post for which you want to add an image or file media.
Place your cursor in the area of the text editor where the media is to be placed and click.
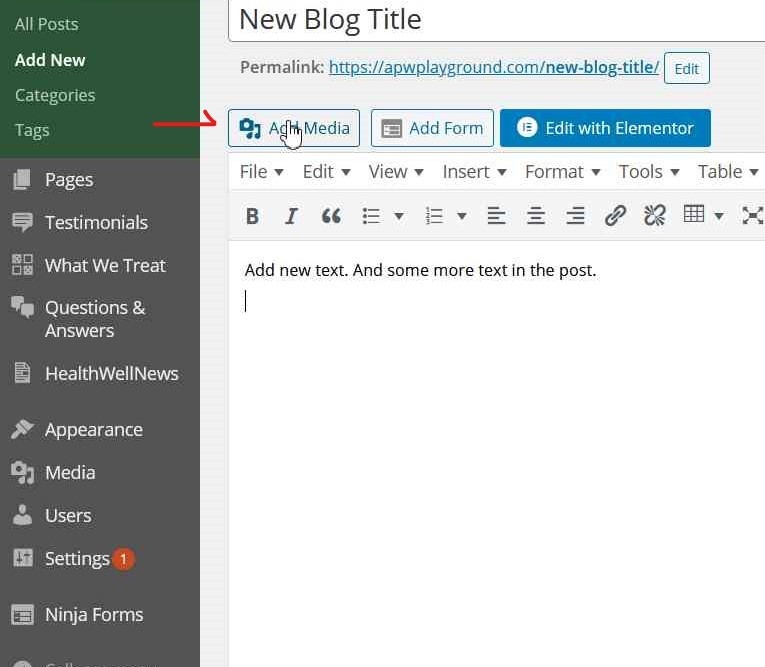
3. Then, click the “Add Media” button above the editor window.
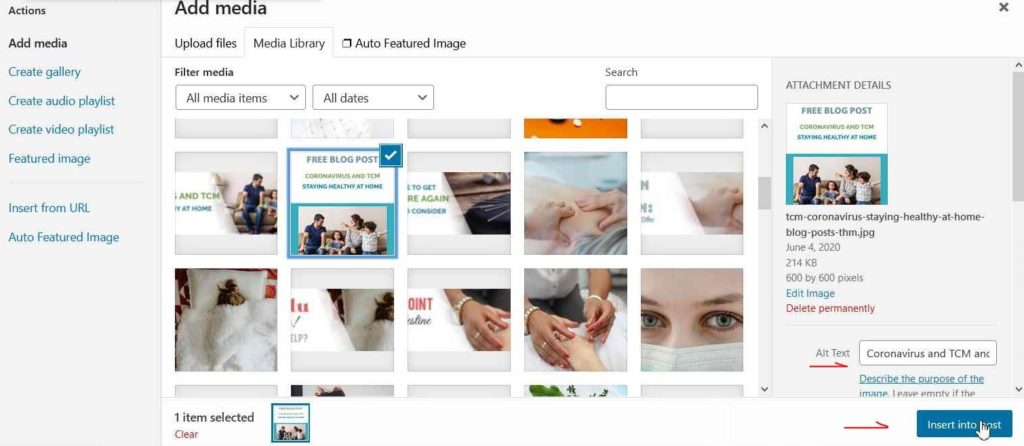
4. From here, you can upload a file (or files) from your computer by choosing Select Files and finding the image(s) you want to upload. (Or, drag files from your computer into the media window).
After the image upload is complete, your image details will appear. Enter any details you want to add–only a title is required, but add a description of the media to the Alt Text field for screen readers. Choose the image alignment and size.
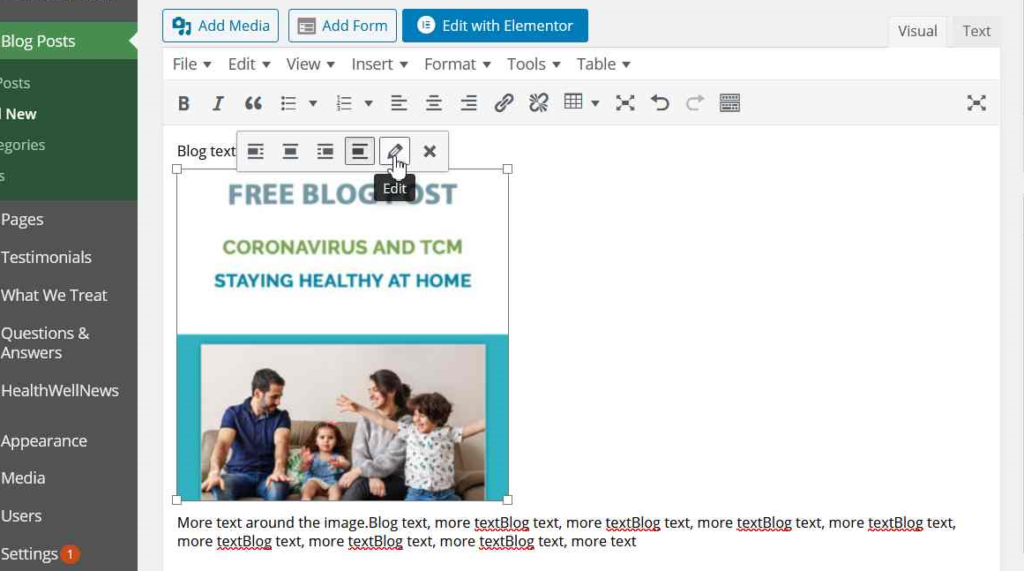
5. When you are ready to place your image, click “Insert into Post” and your image will appear in your editing window.
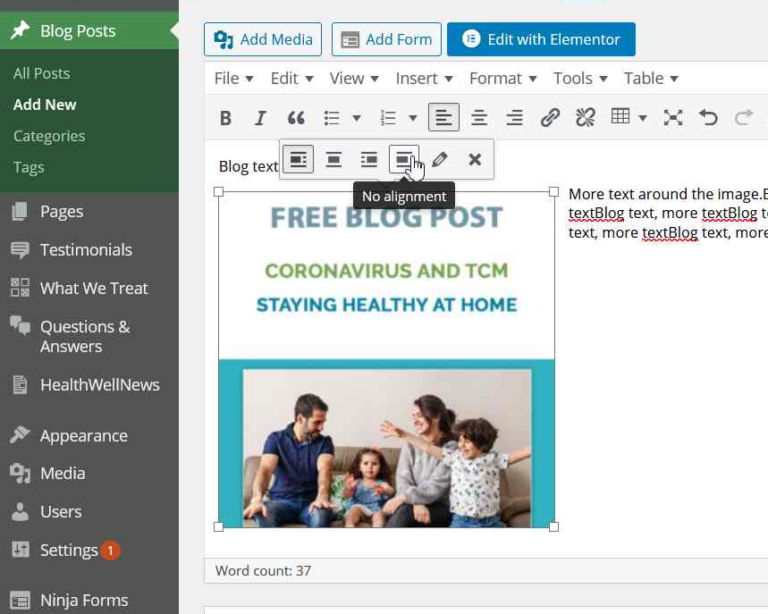
6. From here you can make final adjustments to your image by clicking on it and dragging from the corners to resize, or by clicking on the image to open editing options where you can edit meta-data or alignment.

7. You can also click the Edit pencil icon to open the edit window–
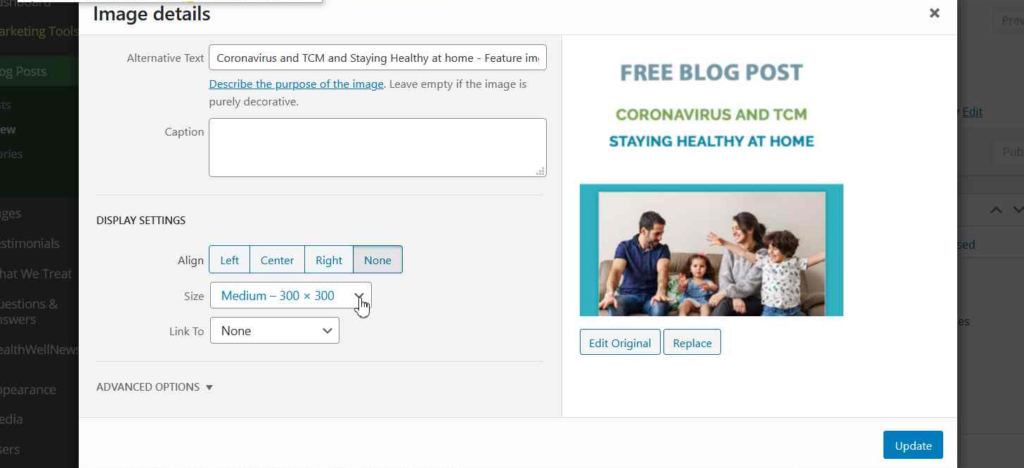
–and make adjustments through the modal.
Notes:
Preview your edited post to inspect your changes.
When finished, be sure to click the blue Publish or Update button to submit the changes to your live post.
- Be sure to check your site after publishing the changes to make sure everything looks correct, as the editor screen does not always show the same font and window sizes as your site.
Adding photos from our stock photo collection:
Do you want to spice up the pages on your site, or give them a more professional touch? With AcuPerfect Websites you have access to a stock photo library to do just that. If you’d like to add stock photos to your site first, visit our stock photo collection here: http://photos.acuperfectwebsites.com Take note of the image numbers of the photos you’d like to use. Then, contact us and let us know which photos you want added to your site. If you know where you want them placed, let us know and we’ll drop them in for you. Otherwise, we can just add them to your site’s media library where you’ll have access to place the images wherever you want.
