Your site’s menu should contain only those pages that present your most important, primary content.
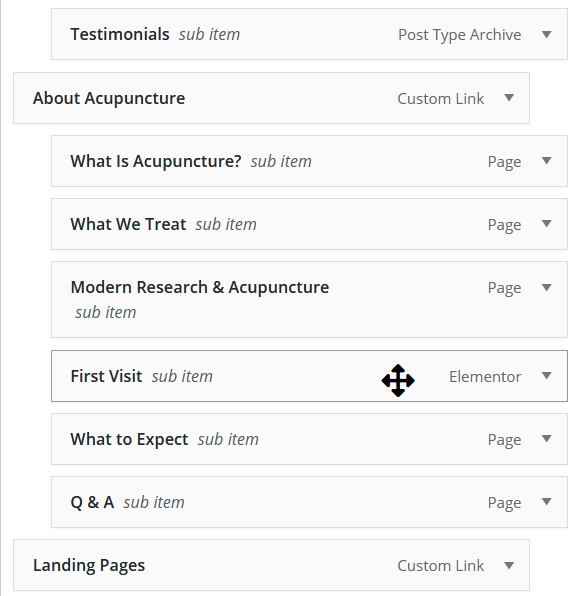
Menu items can be nested under a main, parent page in order to provide structure to your site.
Your site’s menu can be easily changed and rearranged, just follow the steps below :
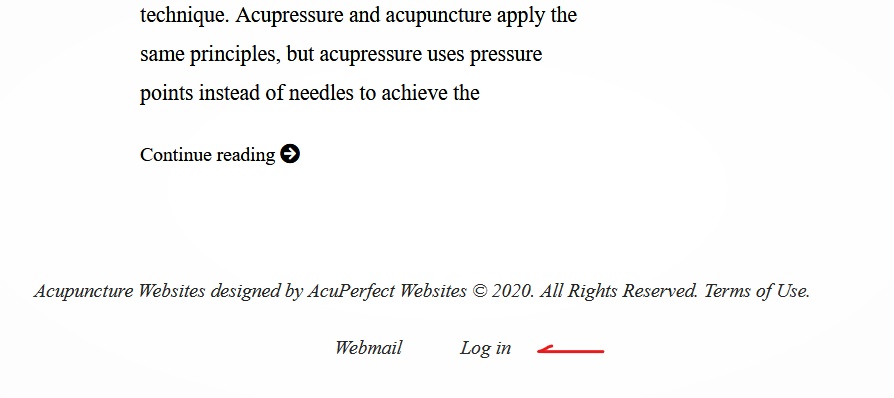
1. Log in to your dashboard using the Log in link at the bottom your website.
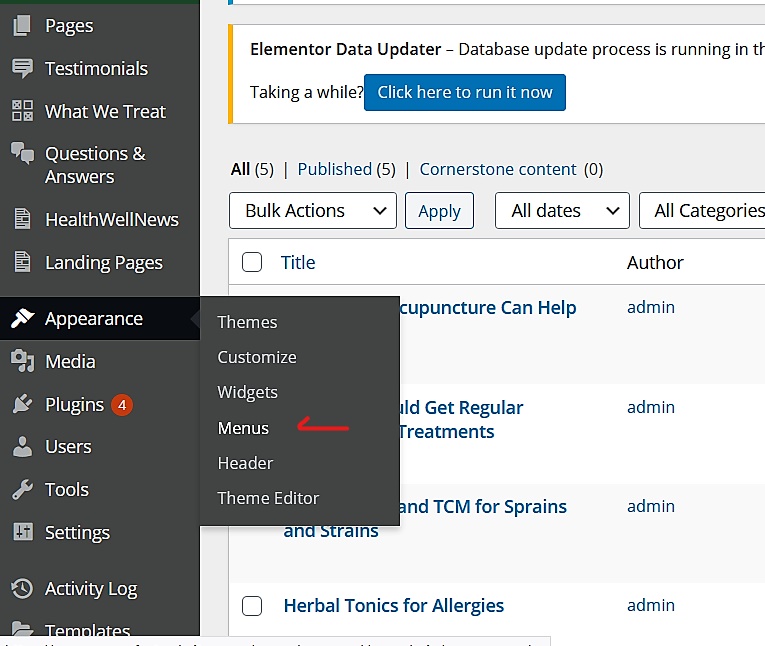
2. From the menu on the left, go to Appearance > Menus
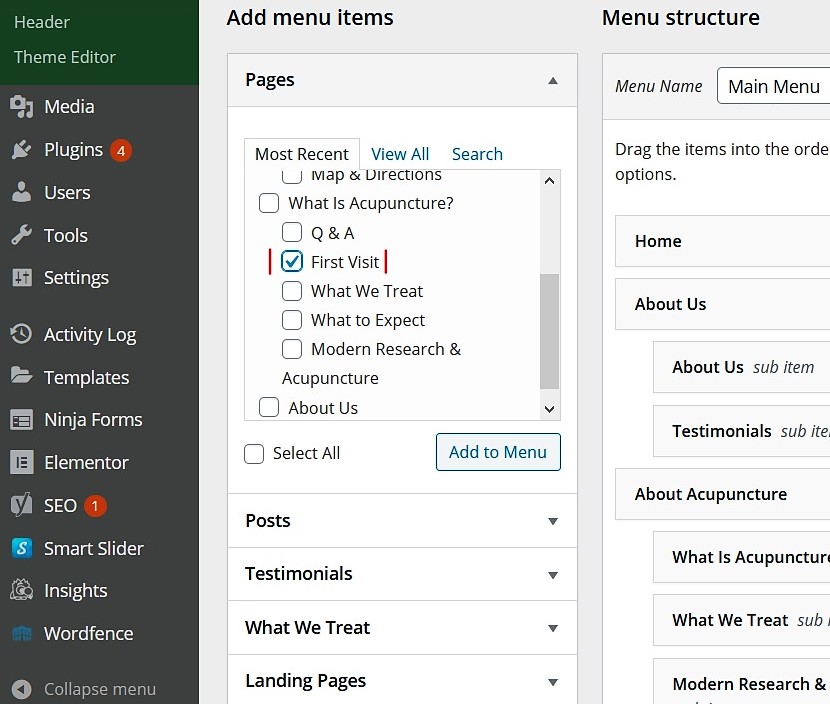
3. The boxes on the left allow you to add new menu items.
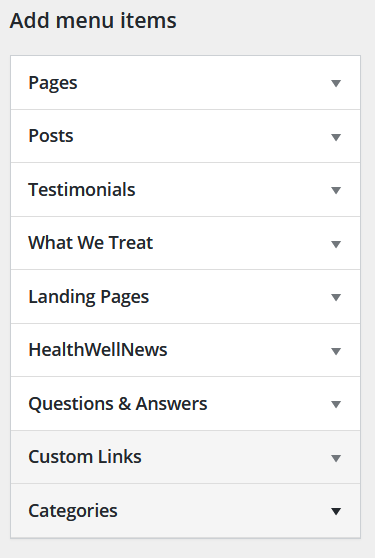
Use the tabs to find the page you want to add, then click Add to Menu.
Custom Links: Add menu items that link to other websites.
Pages: Add menu items linking to pages you have created. New pages can be created by going to Pages > Add New.
Categories: Add a menu item that will show blog posts from a specific category.
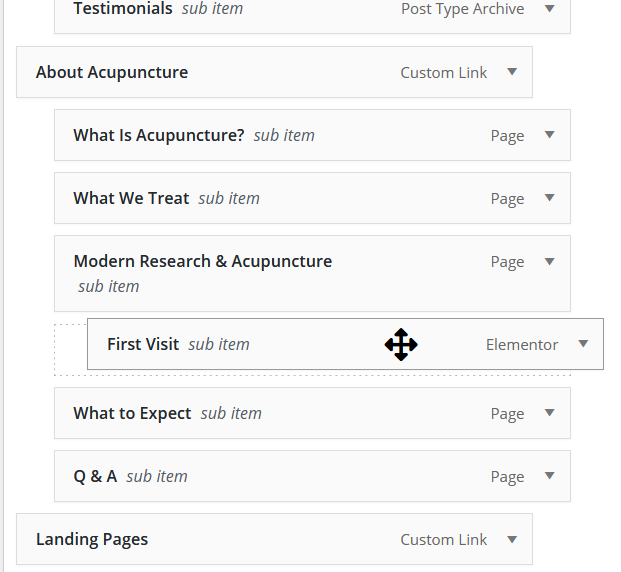
4. Rearrange menu items by simple drag & drop.
Menu items that are indented will show up as a drop-down list from your site’s main menu items.
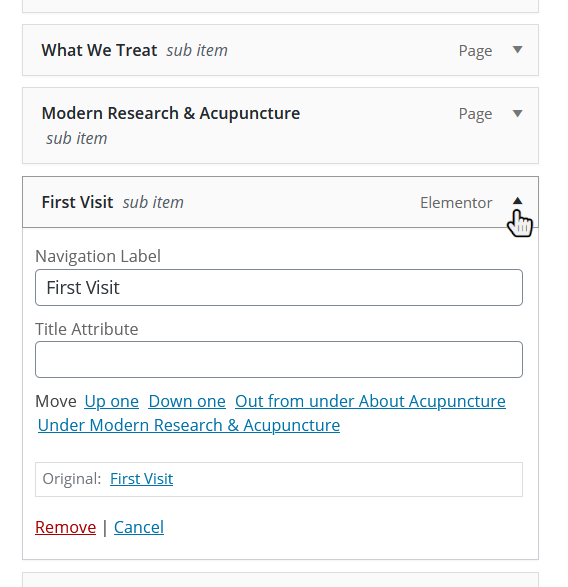
Click the arrow on each menu item to access more options, such as renaming and removing the menu item.
You can indent items further to create multiple drop-down hierarchies.
Once you are done adding and rearranging your menu, be sure to hit the blue Save Menu button. Go to your site and click your new menu items to make sure everything works.