We’ve released a new update that makes adding testimonials even easier!
Now you’ll see a new Testimonial menu item right in your main Dashboard menu.
Use these links to add new testimonials or edit your existing ones.
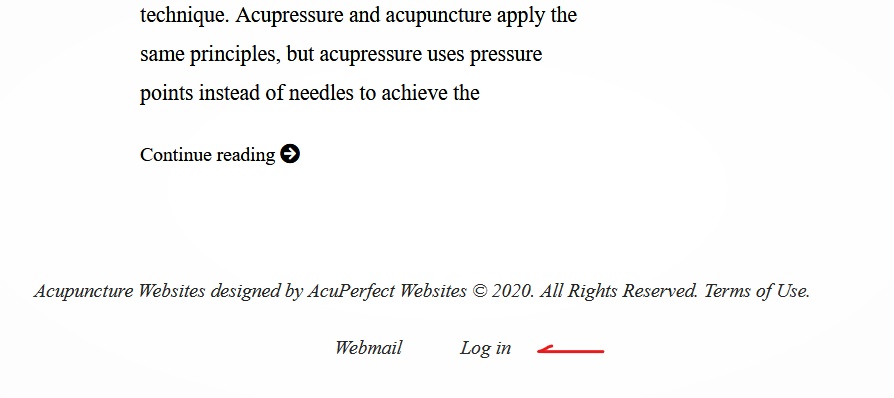
1. Log in to your dashboard using the Log in link at the bottom your website.
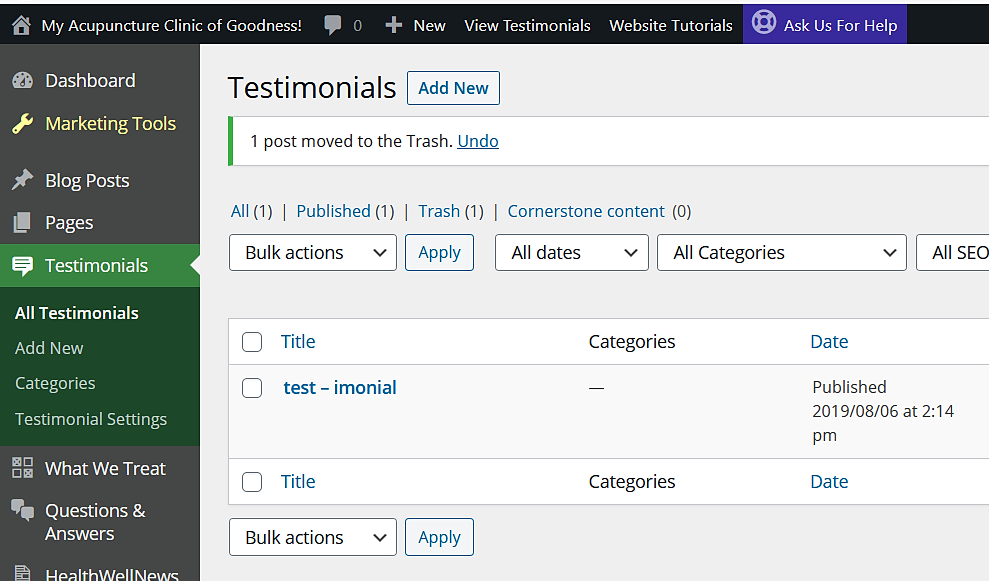
2.Log in to your dashboard and find the sidebar menu item for Testimonials.
Here you will find options to add a testimonial, categorize them, set display layout, create a custom heading, and the library of all of your testimonials.
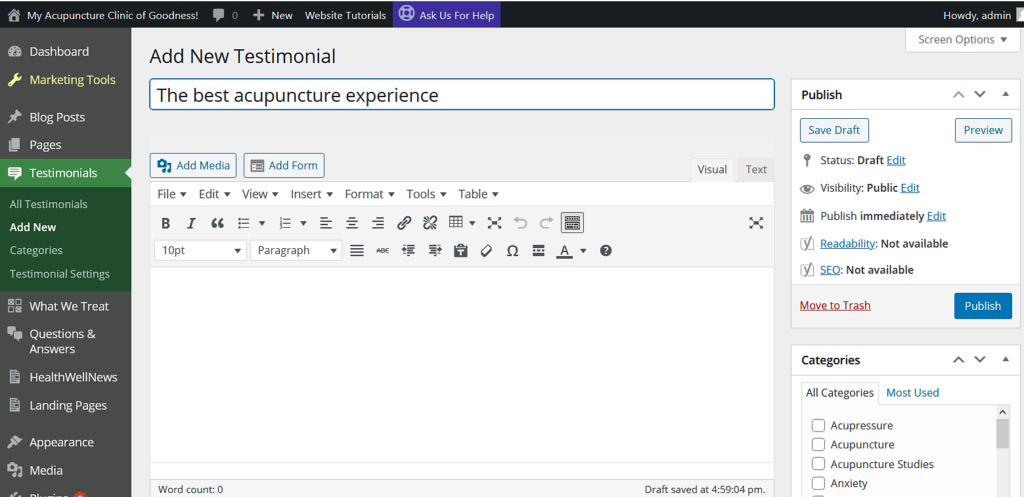
3.Creating a new testimonial is largely the same process you would use to create a post or page: You add a title, enter content, add media if you’d like.
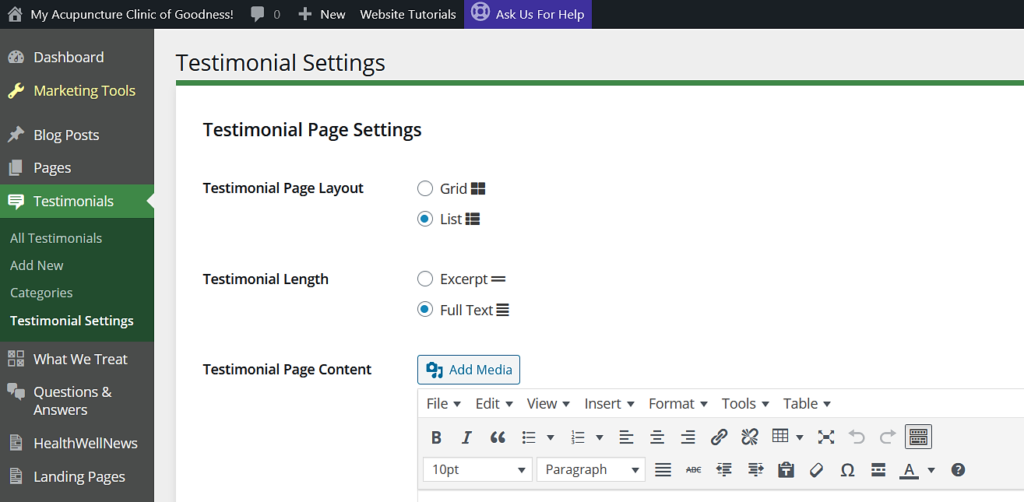
4.To set the layout appearance of your testimonials, go to Testimonials > Testimonial Settings.
Here, you can select how separate testimonials will be displayed, their text length, and you can also create a custom heading for the testimonials page.
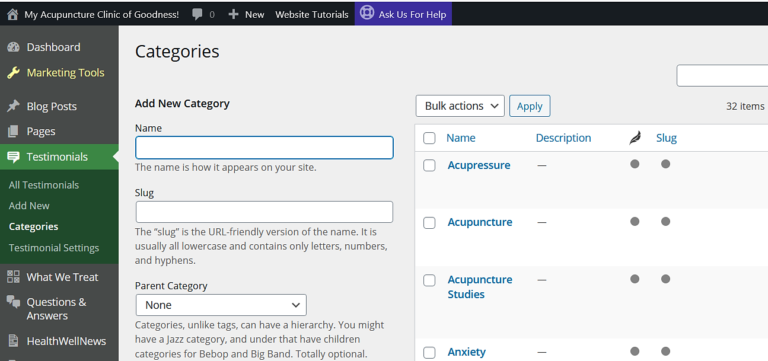
5. Categories: Choose from existing categories or add new ones to help organize your testimonials.
Categorizing Posts and Testimonials allows you to create groups that can then be selectively sorted for display on separate pages.
6. Before publishing live, you can first preview it to see how it will look.